Project Panda Monium ,the twin engined starlet.(part 34)

Time fly’s when it’s Xmas , I have had some good news regarding the spare motor that milkshaked  it’s oil , after doing leak down and compression tests it appears to not have a blown head gasket , it probably just had moisture in it from sitting in the corner for more than 6 years  .

I flushed it with old oil I had and by the second flush the oil looked no worse when I drained it than it did going in. So I put another lot of old oil in and used a oil flush additive , drained it , filled it with new cheap oil and filter , ran that for 10 min then drained and filled with the good oil. The test will be in January at a street sprint I’m entered in :-).

I have done some work on the rear gearbox , I ordered the bearings and seals before Xmas and they arrived just before it.

First up was cleaning everything as it was filthy as can be seen below. it came up really nice in the end after a fair bit of scrubbing as seen in the second pic.

P1030657


P1030656

I then removed the old bearings and fitted the new ones. Then I put the diff in the case , bolted it up and checked the bearing pre-load which checked out fine. I then assembled the gear-set into the case , and bolted the two half’s together.

P1030663

Below is a picture of the gearbox looking finished , sadly it isn’t as for some reason it is tight going into fifth gear , I suspect the selector shaft may be bent , but whatever it is , it needs to come apart again , and I just couldn’t be bothered doing it today :-).

P1030666

I have made progress on the rear intercooler’s water circuit too , I have worked out where I wanted to mount the pump , and made the bracket  to do so .The setup is almost finished , I just need to get a 45 deg hose for the pump outlet and clip the hose to the bodywork and it’s done .

P1030670

P1030669

And also the piping for the rear motors radiator is coming along , since I got the radiator pipes modified I started thinking about how to run the pipes to / from the motor.

I spent quite some time looking and visualizing where I thought they should go , I realized that it was going to cost quite a bit to get all the fittings to do it and I wanted to be sure that the layout would actually work . I went to the local plumbing place and brought some PVC bends etc and made up the pipes to fit . As expected I ended up running quite differently to how I had thought , as it turned out , I need less fittings than I thought . After checking Ebay it turns out in England you can get almost any size/ type of silicon bend you want so I will be ordering the required fittings after I finish this. Below is the lower pipe in PVC.

P1030664

The plan over the next few days is to ;

1) sort the gearbox out

2) order the parts I need to make the radiator pipes

3) finish reassembling the race car so I can get the project car back on the hoist .

4) Then I want to make a frame for getting the rear motor in / out .

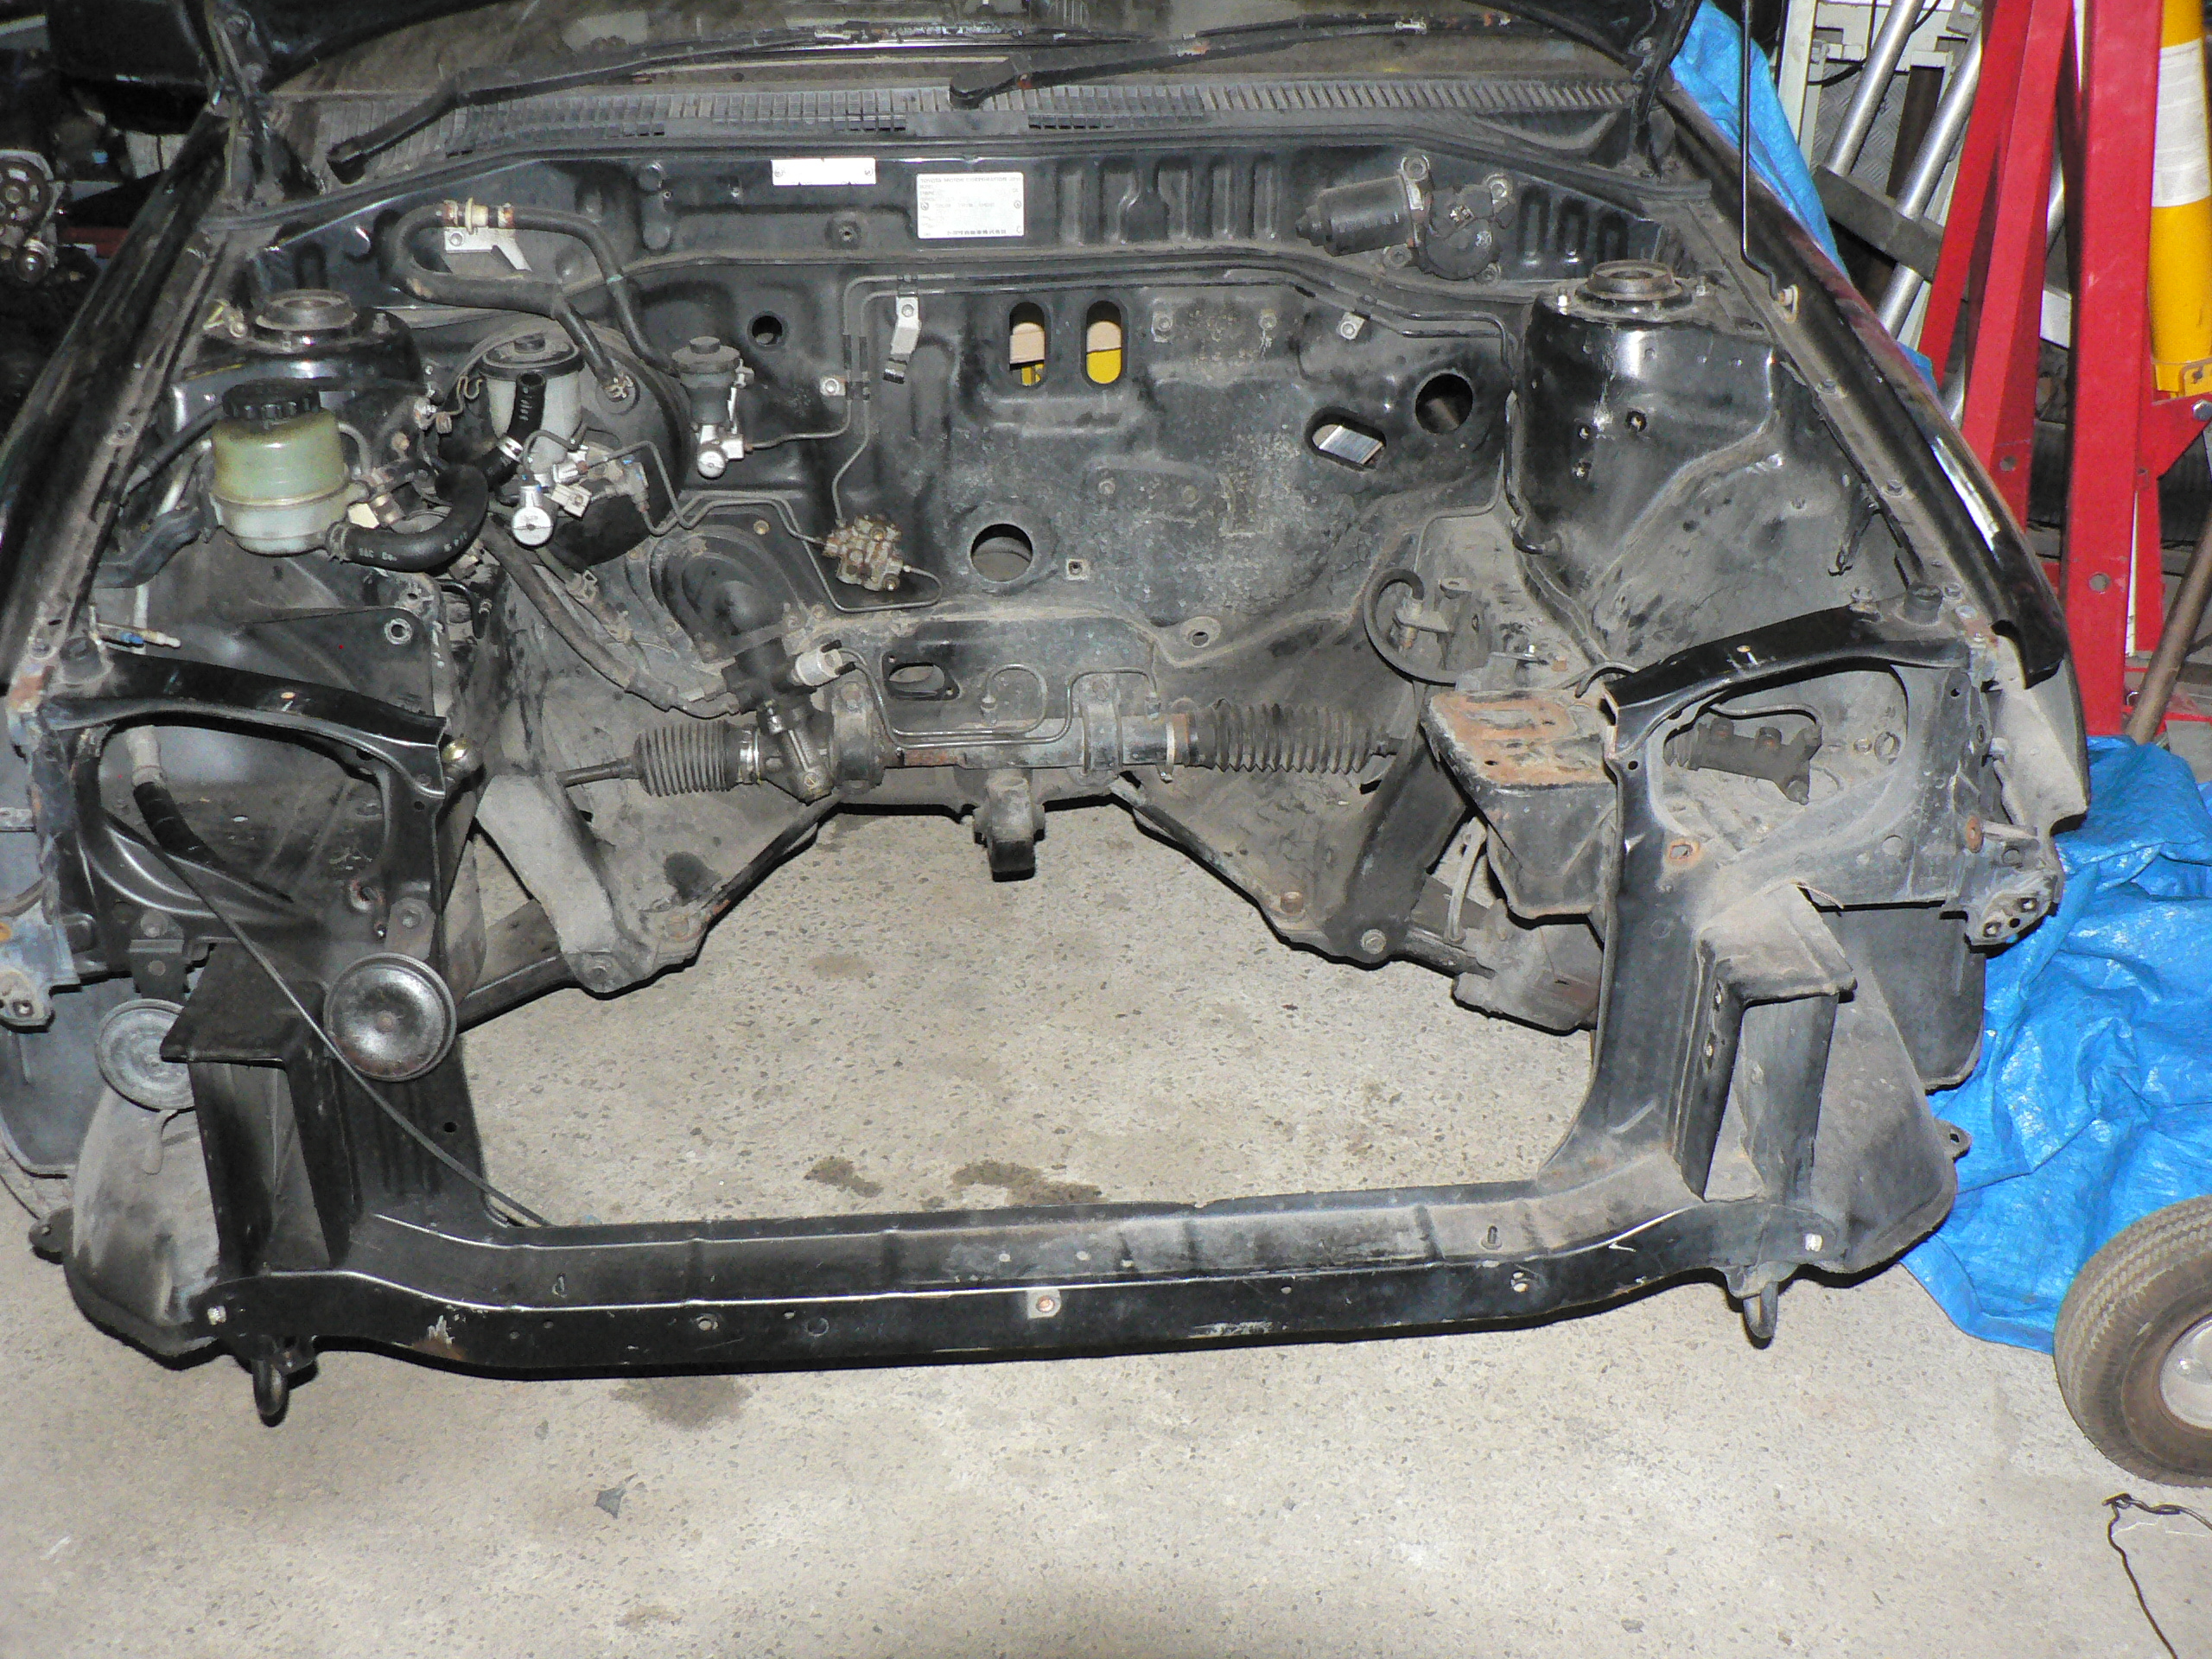
5) I have got another steering rack and I want to modify the mount frame I made earlier in the project to pick up the rack mounts so I can temporarily fit a rack in the back to make it easier (hopefully) to get the geometry right.

I’m thinking that lot will keep me busy till next year and then some lol.

Happy new year to you all.


Project Panda Monium ,the twin engined starlet.(part 33)

Well the motor swap went well , the flywheel / clutch / gearbox change was good , the motor / box dropped back into the car easily  and I got it started around 4pm Saturday . Unfortunately it turned to crap at this point as when I checked the oil level it looked like chocolate milkshake so no racing the starlet for another weekend.I did take up the offer of a drive in a friends Subaru Sti at the grass autocross ( thanks Loren 🙂 ) and the grip level was eye opening , I’ll be very happy if this project gets grip like that.

To be fair it wasn’t totally unexpected as I found the thermostat fully perished and the water pump was rusted up. Anyway I have now tested the second motor (Fail !!) and know what I need to do to it. I have ordered a couple of head gasket sets from Ebay and discovered I can get bearing sets from there too , so the plan for the 1st motor is to swap the crank and a rod from a parts block I have and order the correct size bearings to suit.

I have started fitting the modified radiator and it fits pretty well apart from the expected clearance with the box where the pipe comes through. As can be seen below I have modified the box with a channel to allow a hose to fit , and thou it looks close it should have clearance.

P1030631

Next up was sorting the clutch operation for the rear motor and while I was thinking about this I decided to sort out the dual throttle operation as well. I went to pick a part and got a slave cylinder with the hard and soft lines off a corolla . After some gentle re-bending of the pipe and drilling and tapping some holes to secure the flexible hose to the bodywork , it ended  up looking like below . I might try and make the pipe fit a bit better , but I’m pretty happy with how it’s looking so far.

All I have to do now is sort the line to the front and it’s done , I’m thinking of modifying the line that used to go the the charcoal canister from the petrol tank , it runs in the right place , it looks long enough , it’s the right size , and I already have it = win .

There will be a bit of work at the front to do as I need to tee into the existing clutch line , and also fit a longer clutch master cylinder ( same diameter) to allow for the fact there’s now two slave cylinders in the circuit .

P1030629

I also got an MR2 throttle cable , I think it might have been a model with cruise control as the cable went into a box by the rear strut tower with various motors etc attached , anyway it was long enough for what I wanted.

first up was figuring where to fit the firewall end bracket and it quickly became obvious that it had to go on the right of the existing cable. with a bit of assistance from a hammer and a grinder I got it to fit . Then I made the pedal bar extension and after lots of thinking and measuring to make sure the cable pull holes were the same distance vertically from the pivot , I then tacked and checked the operation before I welded it and painted it as can be seen below . Please ignore the rusty brackets etc , they will get tidied up later when I get to doing the dash area.

the cable actually comes out in the front wheel well and ducks across and into the engine bay as can be seen in the second pic down , ignore the blanking plug , that was the failed first attempt 😦 . It then loops under the brake booster and comes through the firewall below the booster , is cable tied to the throttle pedal and a body pin ( that has blue hose over it) as seen below. It then is run down the base of the sill to the back where it goes up the inner guard and across to the rear motor.P1030644

P1030638

Because this cable went to the strange box in the MR2 the distance between the adjusting nuts on the cable sleeve and the end of the cable itself  are different to the normal Toyota setup. I therefore had to chop up the bracket on the inlet manifold to suit and the final item can be seen in the 1st pic below. The second pic is of the bracket after I had modified it and tacked it for trialing , so you can see it needed quite a bit of changing.   P1030646

P1030643

After I fitted everything in place I got a second throttle assembly and connected it to the front cable to see what it felt like , and it felt good , a bit heavier but still much lighter than my BMW ‘s factory setup .

i then had a tidy up in the engine bay and removed the wiring loom , fuel filters etc and got it to the state you can see in the pic.P1030649

While I was doing this I started thinking about what wiring I would need , what things I need to keep etc. The two motor looms will be pretty much separate apart from power supply .

the body loom needs to have , the rear tail lights and brake lights , instrument power and lights  , the radiator fans at both ends , power for whatever demisting system I use , Windscreen wipers and things I’ve forgotten at this point . I’m thinking a list and a drawing will need to be make to help me plan it all out , no problem , I’ll just add to the list of things to do on the project over xmas while I’m on ” holiday ” haha.

So no surprise I have plenty to do over xmas , have a happy xmas everyone !!


Project Panda Monium ,the twin engined starlet.(part 32)

So I went away to do a weekends worth of hill climbing and it did not go very well at all.    The first timed run on the first day ended up being the only run of the weekend as number two big end decided to weld itself to the crank during this run .

suffice it to say I now need to repair the motor before it goes back in the project which was not what I had intended . I have come up with a plan to allow me to race this weekend at an autocross and test out the spare motor I have. Yup I’m madly swapping motors to allow me to run .

i have pulled the cam cover off and the spare motor is remarkably clean inside which suggests that it was looked after ( till they chucked it upside down in a tree ) . Tomorrow is Saturday and I still need to swap the gearbox , clutch and flywheel to the “new” motor , reinstall the motor / box in the race car , get it going and then put it on the trailer ready for Sunday . I think tomorrow is going to be a bit busy .

As a result of all this unexpected work there has been less work done on the project than hoped for . This is not to say nothing has been done as I have finished the hatch duct.

In the first pic you can see the duct tack welded in place and also the extra flap to hold the mesh tight against the panel below the screen. After this I used a sealer adhesive around the inside and outside of the duct to tidy it up and seal it all.

P1030616


here is a different angle showing the top seam , it looks really good with the sealer over it .

P1030617

Finally here is a series of shots showing what the hatch started out like , followed by the unpainted duct with no edging , followed by the painted , edged finished hatch , and finally back on the car ready for the final part of duct to be made , ie the top of the radiator box.   P1030604

P1030614

P1030618

P1030620

I have modified the two radiators pipes and they have been welded up by John Raptis who I can highly recommend if you need welding or other mechanical  work done .

first up we have the modified radiator for the front of the car , the bottom pipe needed to be moved to the other side to miss the 4th engine mount that ends up directly behind the original pipe position .

P1030624

next up is the rear radiator , you can see I moved the pipe to the opposite side of the top tank and the bottom pipe got moved to the bottom of the tank.

this means when I have finished working on the race car I can finish off the rear radiator   box / ducting and make the piping to/ from the motor to the radiator.P1030627a  P1030626a

Now I need to get organized and order any parts I need for Xmas so I can get stuck in while I’m off work 🙂